Stop Soggy Granola: Your Ultimate Guide to Crispy Homemade Granola
There's nothing quite like a bowl of crunchy granola to kickstart your day or provide a satisfying snack. But let's be honest, we've all experienced the disappointment of a batch of homemade granola that promised crispness but delivered a chewy, sad, or even soggy texture. If you've been on a quest for that elusive perfect crunch, you've landed in the right place. This comprehensive guide will transform your granola game, revealing the secrets to achieving beautifully golden, irresistibly crispy clusters every single time, with crucial temperature and technique tips.
For many, the journey to making their own granola begins not just for health reasons, but out of necessity. Store-bought versions often come loaded with excessive sugars, unhealthy oils, and a price tag that adds up quickly. Taking control of your ingredients means crafting a snack that's not only more economical but also perfectly tailored to your taste buds and dietary needs. Imagine a breakfast that tastes like a dessert, but without the guilt – that's the magic of Homemade Granola: Healthier, Cheaper & Totally Customizable.
Beyond the Bowl: Why Homemade Granola Reigns Supreme
The allure of homemade granola extends far beyond its superior texture. Crafting your own offers a multitude of benefits that packaged alternatives simply can't match:
- Unparalleled Flavor Control: Tired of overly sweet cereals? When you make granola at home, you dictate the sweetness level. You can dial it down significantly, letting the natural flavors of oats, nuts, and fruits shine through, or opt for a subtle hint of maple or honey.
- Cost-Effectiveness: A quick glance at grocery store prices reveals that quality granola can be surprisingly expensive. Making it yourself often costs a fraction of the price, especially when buying ingredients in bulk.
- Ingredient Transparency & Health Benefits: Say goodbye to hidden sugars, artificial additives, and questionable oils. You choose every single ingredient, ensuring a wholesome, nutritious start to your day. This control allows you to experiment with different healthy fats, whole grains, and nutrient-dense mix-ins.
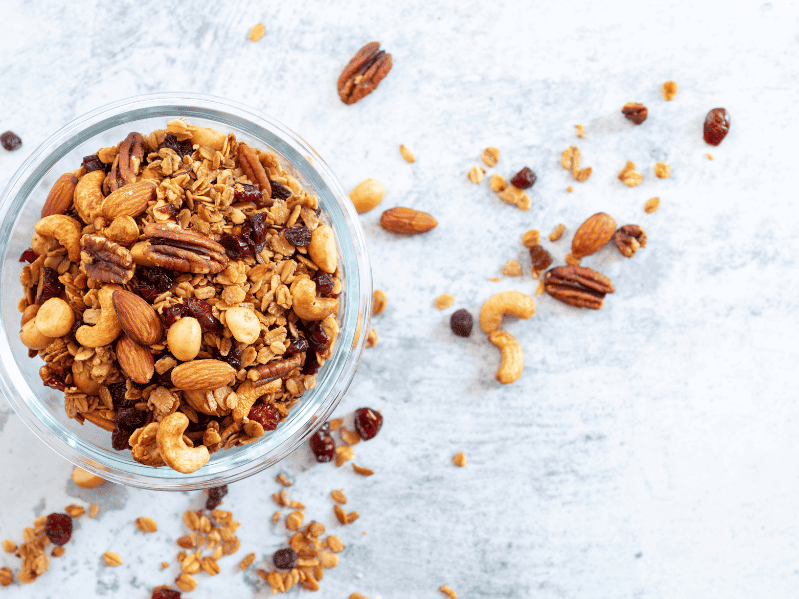
- Endless Customization: From a simple maple-pecan blend to an exotic berry-pistachio creation, your kitchen becomes a flavor laboratory. Think "desserts in breakfast form" – from "Apple Pie" to "Berry Burst" or "Apricot Sunrise," the possibilities for delicious combinations are limitless.
The Science of Crisp: Ingredients, Ratios, and the Egg White Secret
Achieving truly crispy homemade granola starts long before it hits the oven. The foundational elements and their ratios play a critical role in the final texture.
Mastering Liquid Ratios: Sweeteners & Oils
One of the biggest culprits behind soggy granola is an imbalance of liquid ingredients. Many early attempts at homemade granola go wrong by adding too much oil or sweetener, resulting in a soft, cake-like texture rather than a crisp one. The key is finding the "sweet spot" ratio.
- Sweeteners: Honey and maple syrup are popular choices, providing both sweetness and a binding quality. However, too much can hinder crisping. A little brown sugar can add a delightful caramel-like richness and aid in browning without contributing excessive moisture.
- Oils: Healthy fats like coconut oil or olive oil contribute to crispiness and flavor. They help coat the oats, promoting even browning. Again, moderation is key; an ideal ratio of oil to sweetener prevents your granola from turning out greasy or soft.
The Game-Changer: Egg Whites for Clumpy Granola
If you're a fan of those satisfying clusters often found in gourmet granolas, prepare to have your world changed. The secret to creating significant, sturdy clumps without resorting to copious amounts of butter, sugar, or honey is surprisingly simple: egg whites.
Egg white acts as the ultimate food glue, providing an incredible binding agent that sets firmly during baking. When whipped lightly and stirred into your granola mixture, it forms a matrix that holds the oats, nuts, and seeds together, creating those coveted clusters. This technique is especially effective for Homemade Clumpy Granola: The Egg White Secret for Perfect Clusters, allowing you to enjoy substantial, satisfying clumps with a fraction of the added fats and sugars you might otherwise need.
Temperature & Technique: Your Path to Granola Perfection
Once your ingredients are perfectly mixed, the baking process is where the magic truly happens. Precision in temperature and technique is non-negotiable for achieving that coveted crunch.
The Optimal Baking Temperature
Forget scorching hot ovens that burn the edges while leaving the middle raw. The sweet spot for baking most homemade granola is around 325°F (160°C). Here’s why:
- Caramelization vs. Burning: At 325°F, sugars have ample time to caramelize, developing deep, complex flavors and contributing to that golden-brown hue and crisp texture. A higher temperature risks burning the oats and nuts before they have a chance to fully dry out and crisp up internally.
- Even Baking: A moderate temperature allows for more even heat distribution throughout the granola, reducing the chances of hot spots and uneven cooking, which often leads to some bits being burnt while others remain soft.
Strategic Cooling for Maximum Crispness
Baking isn't the final step in the crisping process. How you cool your granola significantly impacts its texture, especially for clumpy varieties:
- Cooling in the Oven: For clumpy granola, after the baking time is complete, turn off your oven but leave the granola inside to cool completely. The residual heat in the oven continues to dry out the granola slowly and gently, allowing the clusters to set and harden into perfect, crunchy formations. This low-and-slow cooling is crucial for preventing any residual moisture from making your granola soft.
- Complete Cooling Before Storing: Regardless of the type, always ensure your granola is 100% cool before transferring it to an airtight container. Storing warm granola creates condensation, which inevitably leads to sogginess.
The "Hole in the Middle" Baking Sheet Trick
Here’s a peculiar but incredibly effective trick, particularly useful if you own a convection oven, but beneficial for any oven: when spreading your granola mixture onto the baking tray, instead of a solid, even layer, create a doughnut-like shape with a hole in the middle. This seemingly odd technique addresses a common problem:
- Even Heat Distribution: Even in fan-forced ovens, the middle of the baking sheet often remains slightly cooler than the edges. By creating a hole, you allow for better airflow and more even heat distribution across the entire batch. This ensures that the center crisps up just as beautifully as the edges, preventing any soft, undercooked spots. Trust us, it looks a little strange, but it makes all the difference!
When to Add Dried Fruit
The timing of adding dried fruit is another critical factor depending on your desired granola type:
- Loose Granola: For a loose, free-flowing granola, dried fruits like cranberries, raisins, or chopped apricots should be stirred in *after* the granola has finished baking and cooled slightly. This prevents them from burning or becoming overly dry and hard during the baking process.
- Clumpy Granola: If you're aiming for clusters, particularly when using egg whites, the dried fruit needs to be added at the beginning with the rest of the mixture. Because you won't be stirring the granola once it's baking (to preserve those precious clumps!), adding fruit later isn't an option. The lower baking temperature used for clumpy granola helps ensure the fruit doesn't burn.
Conclusion: Embrace the Crispy Homemade Granola Revolution
No more settling for mediocre, soggy granola. By understanding the core principles of ingredient ratios, precise baking temperatures, and smart techniques like the egg white binder and strategic cooling, you're now equipped to create batches of homemade granola that are not only perfectly crispy and delicious but also healthier and more economical. Experiment with flavors, play with textures, and savor the satisfaction of knowing you've mastered the art of granola making. Your breakfast bowl (and your taste buds!) will thank you.
